A. Anterior and posterior restorations A-1. Cleaning of tooth surface Thoroughly clean the tooth surface to remove plaque
A-2. Shade selection Select appropriate shade using a shade guide while the tooth is still moist
A-3. Cavity preparation Prepare the cavity following the conventional method
A-4. Isolation Isolate with a rubber dam
A-5. Pulp protection In the case where the pulp is exposed or the affected area is close to the pulp, cap the pulp with calcium hydroxide etc
• Do not use eugenol containing materials since they might inhibit polymerization or adhesion of the material.
A-6. Conditioning and application of adhesive Apply dentin adhesive following the manufacturer’s instructions for use
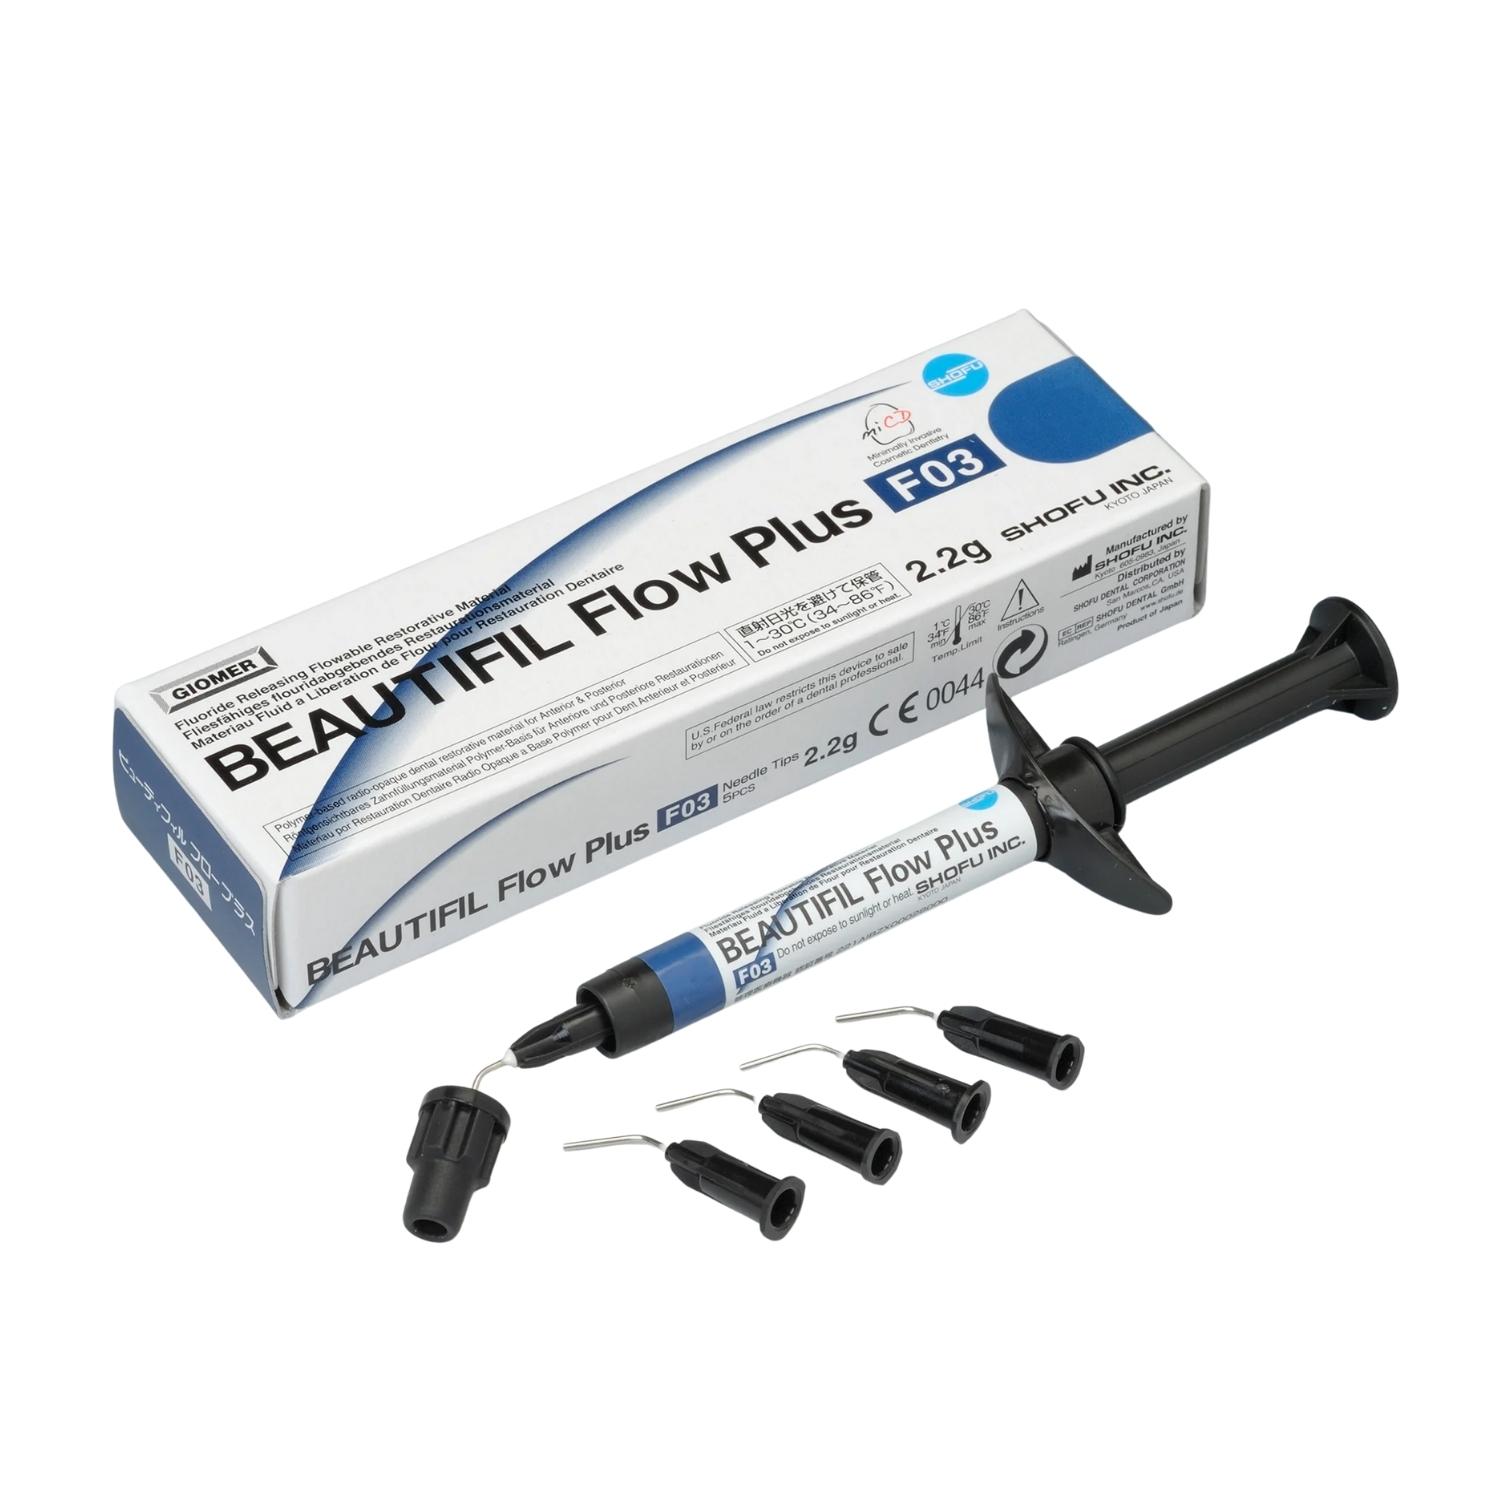
A-7. Setting of Needle Tip Follow the instructions below to attach the BEAUTIFIL Needle Tip provided.
1. Pull off the shield cap while turning it slowly
2. Attach the needle tip by turning it clockwise until it is securely attached
• Wear clean medical (dental gloves) when replacing the needle tip
A-8. Placement Apply necessary amount of BEAUTIFIL Flow Plus directly into the cavity and create the shape desired. BEAUTIFIL Flow Plus may also be extruded onto a paper pad etc to be applied into the cavity with a suitable instrument
• When storing these materials in a refrigerator, allow them to reach room temperature before use
• The paste dispensed onto the paper pad should be shielded from ambient light by light-shielding cover to avoid unintended polymerization of the material
• Needle tips should be used for only one patient and then discarded at the end of the procedure to avoid cross contamination
A-9. Light-curing Light-cure using a dental light-curing unit• When the cavity is deep, incremental filling and light-curing not exceeding 2 mm is recommended. • When the cavity surface is large, light-cure in segments. • Dental light-curing unit and light-curing time
A-10. Finishing and polishing After light-curing, contour, finish and polish the resto ration following the conventional method.
B. Repair of restorations and prostheses
B-1. Clean the restoration Thoroughly clean the restoration to remove plaque
B-2. Shade selection Select appropriate shade using a shade guide
B-3. Isolation Isolate with a rubber dam
B-4. Pretreatment of the material to be bonded Perform appropriate pretreatment for each material to be bonded (composite resin, porcelain, metal or natural tooth).
• Follow the instructions of each pretreatment material.
B-5. Setting of Needle Tip Follow the instructions below to attach the BEAUTIFIL Needle Tip provided
• Follow the step of A-7 as described above
B-6. Placement Apply necessary amount of BEAUTIFIL Flow Plus directly to the restoration and create the shape desired. BEAUTIFIL Flow Plus may also be extruded onto a paper pad to be applied to the restoration with a suitable instrument
• Follow the step of A-8 as described above.
B-7. Light-curing Light-cure using a dental light-curing unit
• Follow the step of A-9 as described above.
B-8. Finishing and polishing After light-curing, contour, finish and polish the restoration following the conventional method.
- 1 x 2.2gm Ssyringe
- 5 x Needle Tips


by angele (verified owner)
useful product. High radiopacity allows clear visibility during follow-ups.Fluoride release and recharge is ideal for high caries index patients
by Enola
useful product. High radiopacity allows clear visibility during follow-ups.Fluoride release and recharge is ideal for high caries index patients